How to Use Google DNS: Complete Setup Guide and Performance Analysis
Last updated: September 2025
Google DNS has become one of the most popular public DNS services since its launch, offering users an alternative to their ISP’s default DNS servers. This comprehensive guide will walk you through everything you need to know about Google DNS, from basic concepts to detailed setup instructions across different platforms.
What is DNS and Why Does It Matter?
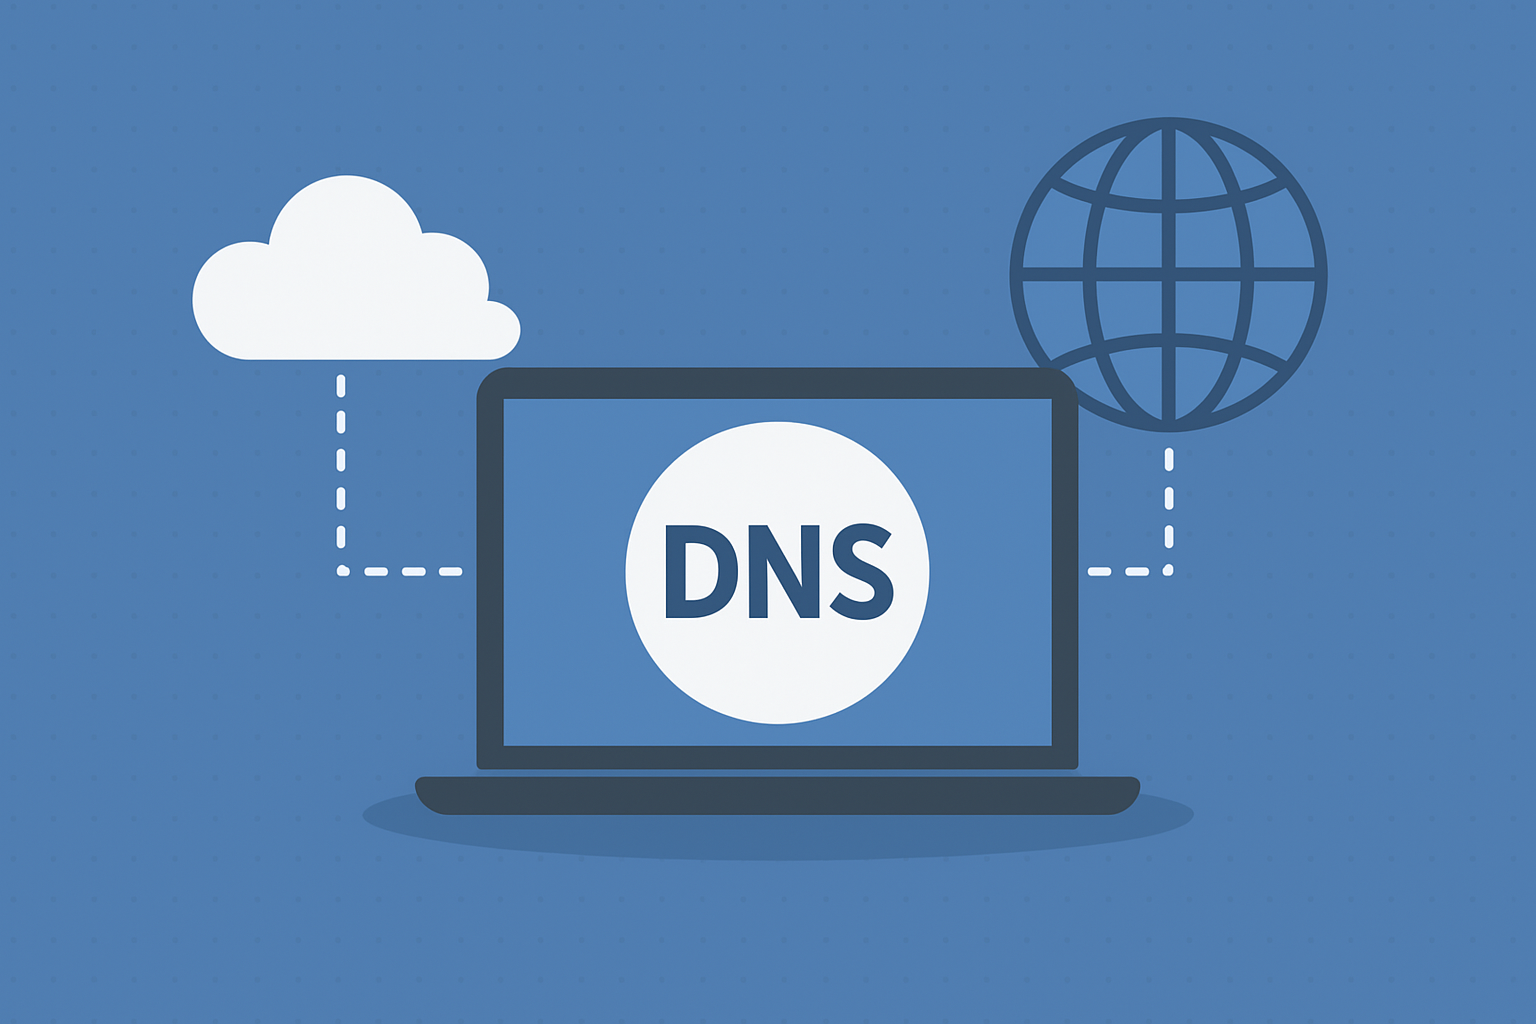
The Domain Name System (DNS) serves as the internet’s phone book, translating human-readable domain names like “google.com” into IP addresses that computers can understand. When you type a website URL into your browser, DNS servers work behind the scenes to direct your request to the correct server.
Most internet service providers (ISPs) automatically configure your connection to use their DNS servers. However, these servers often suffer from reliability issues, slower response times, and sometimes redirect failed queries to advertisement-filled pages. This is where public DNS services like Google DNS come into play.
Understanding Google DNS: Key Features and Benefits
Google DNS operates on two primary IP addresses that are easy to remember and configure:
- Primary DNS: 8.8.8.8
- Secondary DNS: 8.8.4.4
Advanced Security Features
Google DNS implements several security measures that set it apart from traditional DNS services:
DNS-over-HTTPS (DoH) Support: Google DNS supports encrypted DNS queries, protecting your browsing data from potential eavesdropping and man-in-the-middle attacks. This is particularly important when using public Wi-Fi networks.
DNSSEC Validation: Google DNS validates DNSSEC signatures, ensuring that DNS responses haven’t been tampered with during transmission. This helps protect against DNS spoofing attacks.
No NXDOMAIN Redirects: Unlike many ISP DNS servers that redirect failed queries to advertising pages, Google DNS returns proper NXDOMAIN responses for non-existent domains. This prevents unwanted redirects and maintains browsing integrity.
Performance Analysis: Google DNS vs Competitors
Recent performance testing shows Google DNS consistently delivers competitive speeds across global locations. Independent benchmarks from 2024-2025 indicate:
- Average query response time: 23-28ms globally
- 99.9% uptime reliability
- Load balancing across multiple data centers for optimal performance
When compared to other public DNS services like Cloudflare (1.1.1.1) and OpenDNS, Google DNS performs particularly well for users already within Google’s ecosystem, benefiting from their extensive global infrastructure.
How to Set Up Google DNS: Step-by-Step Instructions
Windows 10/11 Setup
-
Open Network Settings
- Right-click the network icon in your system tray
- Select “Open Network & Internet settings”
- Click “Change adapter options”
-
Configure DNS Settings
- Right-click your active network connection
- Select “Properties”
- Double-click “Internet Protocol Version 4 (TCP/IPv4)”
- Select “Use the following DNS server addresses”
- Enter Primary DNS: 8.8.8.8
- Enter Secondary DNS: 8.8.4.4
- Click “OK” to save changes
-
Flush DNS Cache
- Open Command Prompt as administrator
- Type:
ipconfig /flushdns - Press Enter to clear your DNS cache
macOS Setup Instructions
-
Access Network Preferences
- Click the Apple menu → System Preferences
- Select “Network”
- Choose your active connection (Wi-Fi or Ethernet)
-
Configure DNS
- Click “Advanced” button
- Navigate to the “DNS” tab
- Click the ”+” button to add DNS servers
- Add 8.8.8.8 and 8.8.4.4
- Click “OK” then “Apply”
-
Clear DNS Cache
- Open Terminal
- Run:
sudo dscacheutil -flushcache - Enter your admin password when prompted
Android Device Configuration
-
WiFi Network Settings
- Go to Settings → WiFi
- Long-press your connected network
- Select “Modify network” or “Advanced options”
- Change IP settings to “Static”
-
Enter DNS Information
- Scroll to DNS fields
- DNS 1: 8.8.8.8
- DNS 2: 8.8.4.4
- Save the configuration
iOS Setup Process
-
WiFi Settings Access
- Open Settings → WiFi
- Tap the “i” icon next to your connected network
-
Configure DNS
- Tap “Configure DNS”
- Select “Manual”
- Remove existing DNS servers
- Add 8.8.8.8 and 8.8.4.4
- Save changes
Router-Level Configuration
For network-wide DNS changes, configure your router settings:
-
Access Router Admin Panel
- Enter your router’s IP address (typically 192.168.1.1 or 192.168.0.1)
- Log in with admin credentials
-
Locate DNS Settings
- Find “Internet” or “WAN” settings
- Look for DNS server configuration
- Replace existing DNS with:
- Primary: 8.8.8.8
- Secondary: 8.8.4.4
-
Apply and Restart
- Save settings and restart your router
- All connected devices will automatically use Google DNS
Privacy Considerations and Data Handling
Google’s DNS privacy policy outlines their data collection practices. While they don’t store full IP addresses permanently, they do collect:
- General geographic location data
- Query patterns for performance optimization
- Technical diagnostic information
This data collection is similar to most web analytics tools. Google states they use this information to improve service performance and security, not for advertising purposes. However, privacy-conscious users might consider alternatives like Cloudflare DNS (1.1.1.1), which promises minimal logging.
Troubleshooting Common Issues
DNS Changes Not Taking Effect
- Clear your browser cache and cookies
- Restart your network adapter
- Flush DNS cache using command line tools
- Restart your router if configured at network level
Slower Internet Speeds
- Test different DNS servers to compare performance
- Check if your ISP is throttling external DNS queries
- Consider geographic proximity to DNS servers
Website Access Issues
- Verify DNS settings are correctly entered
- Test with alternative DNS (try 1.1.1.1 temporarily)
- Check if specific websites are blocked by your network
Advanced Configuration Options
DNS-over-HTTPS Setup
For enhanced security, configure DNS-over-HTTPS:
- Chrome: chrome://flags/#dns-over-https
- Firefox: Settings → Network Settings → Enable DNS over HTTPS
- System-wide: Use tools like cloudflared or dnscrypt-proxy
IPv6 DNS Configuration
Google also provides IPv6 DNS addresses:
- Primary: 2001:4860:4860::8888
- Secondary: 2001:4860:4860::8844
Conclusion
Google DNS offers a reliable, secure, and fast alternative to ISP-provided DNS servers. With its easy-to-remember IP addresses (8.8.8.8 and 8.8.4.4) and robust security features, it’s an excellent choice for users seeking improved internet performance and reliability.
The setup process is straightforward across all platforms, and the performance benefits are typically noticeable immediately. Whether you’re experiencing slow website loading times, dealing with unreliable ISP DNS servers, or simply want better security, Google DNS provides a solid solution backed by Google’s global infrastructure.
Remember to test your internet speed before and after switching to measure the improvement, and consider your privacy preferences when choosing between different public DNS providers.
About the Author
Subodh Gupta is the founder and author of TechnologyBasics.net. With over 20 years of experience in software development and technology leadership at major organizations, including roles in financial technology, he shares practical guides, tutorials, and reviews on essential software, apps, and tech tools. His insights help everyday users make informed decisions and use technology more effectively.